
導入時の環境・Ver情報
Unity:22.3.9f1
Cloud Dignostics:1.0.6
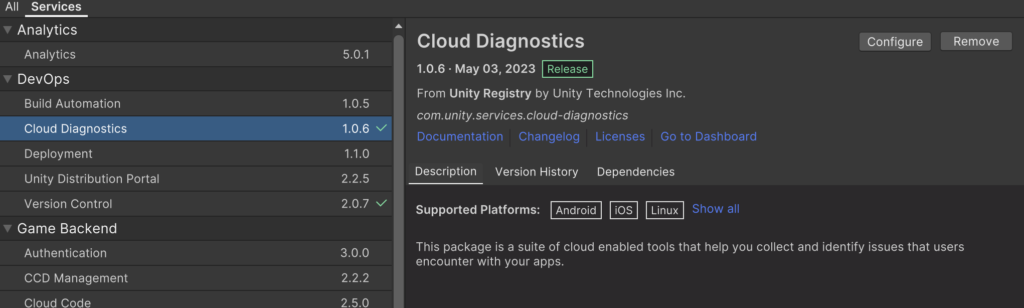
左上の雲のマークをクリック

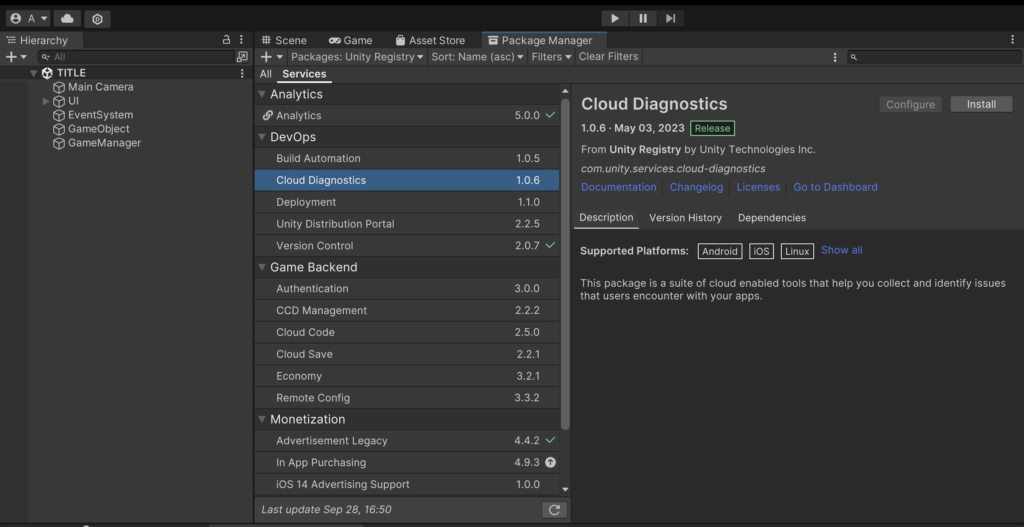
パッケージマネージャのサービスが開くので、Cloud Diagnosticsを選択、インストール
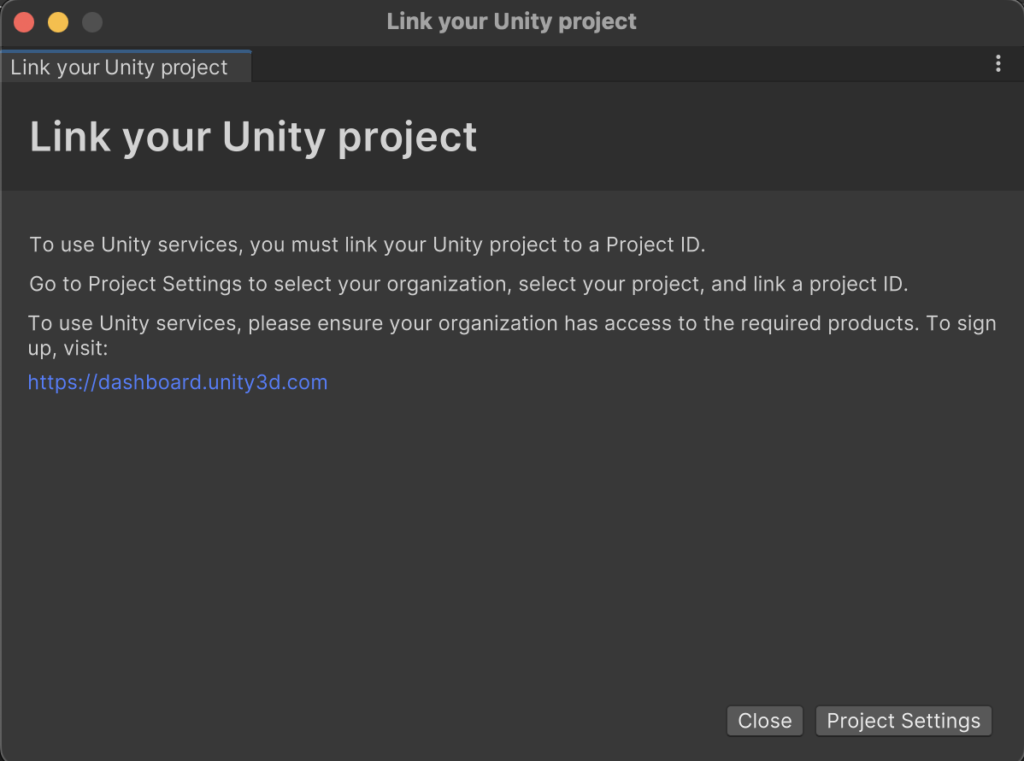
新規プロジェクトやサービスに追加されていないプロジェクトの場合、
Unityアカウントと紐付ける必要があるので、画面に沿って紐づけを行う
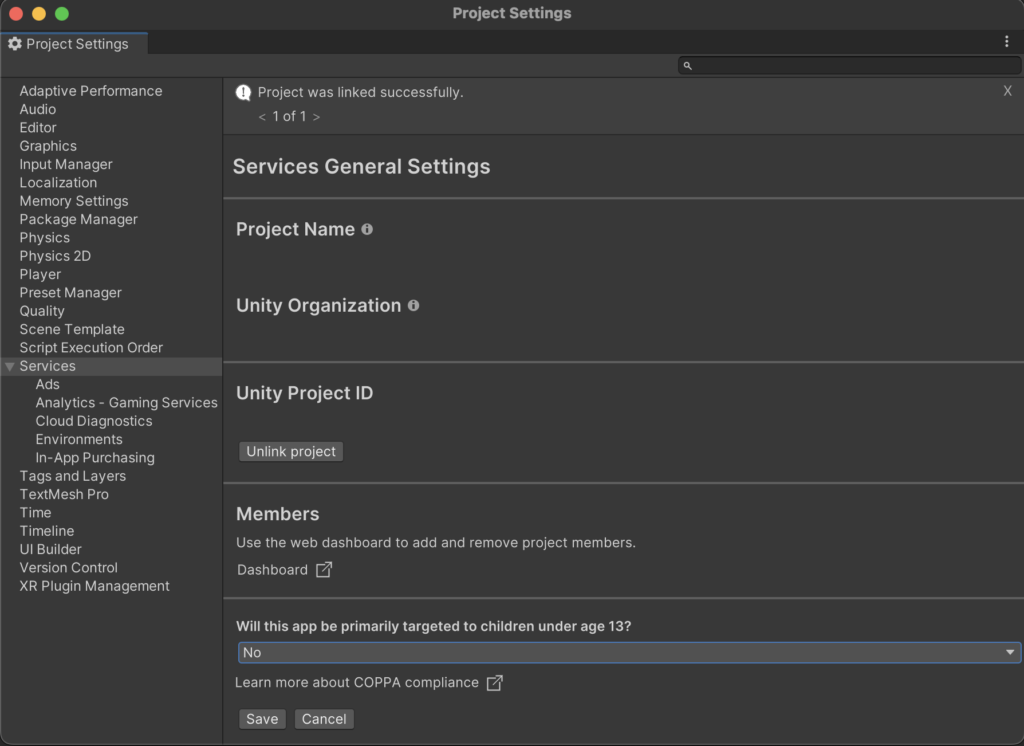
Project Settingを押下
管理者を選択するように言われる
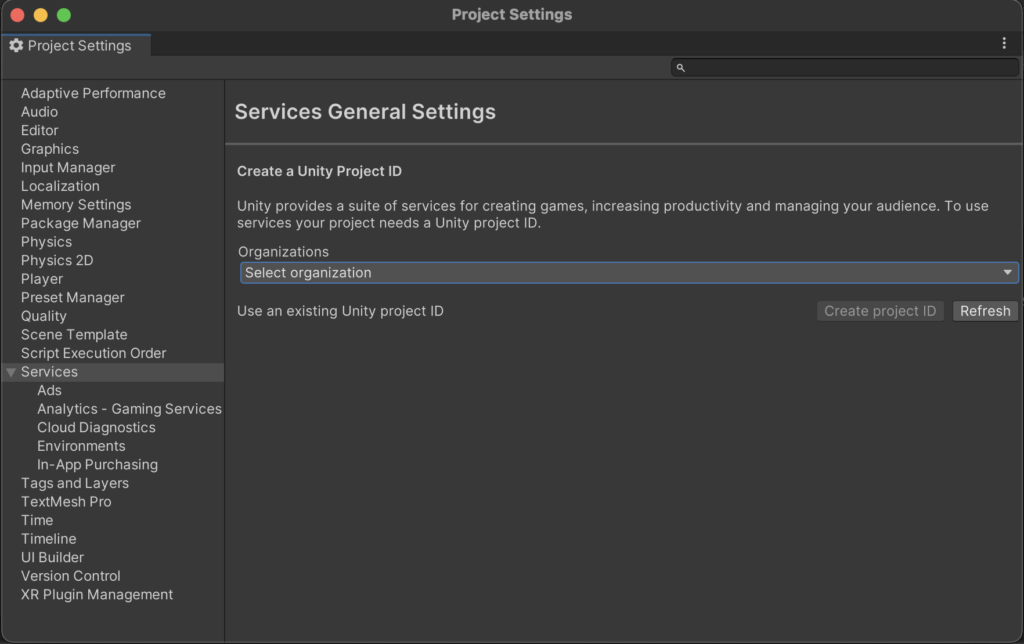
ドロップダウンから管理者アカウントを選択し、Create Project Id

13歳以下が対象かを選択
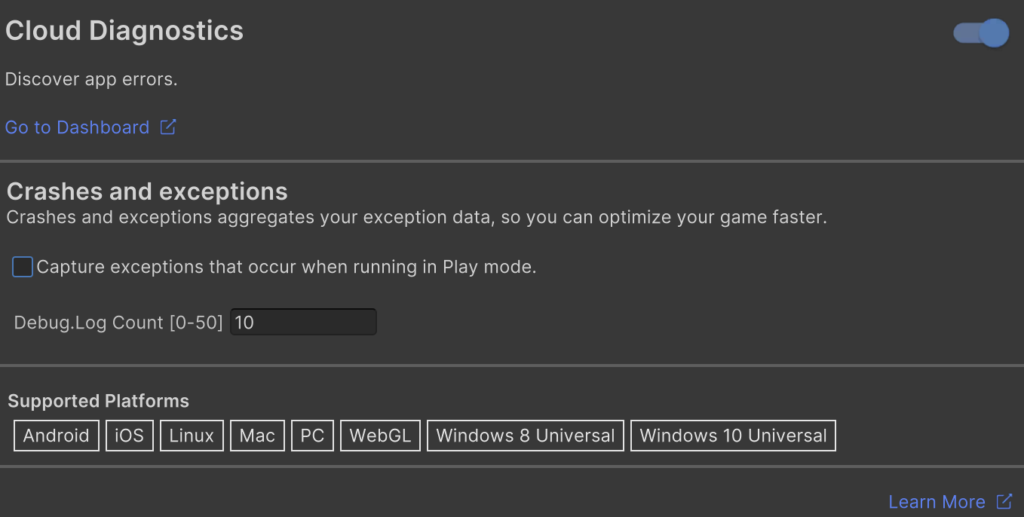
最初のPaccageManagerからCloud Diagnosticsを選択しConfigureを押下
トグルがオフになっていて、機能が無効になっているのでオンに変更

エディタでのPlay時にエラー発生時もレポートが発行されるようになっているのでチェックボックスをオフ
以上で設定完了です。
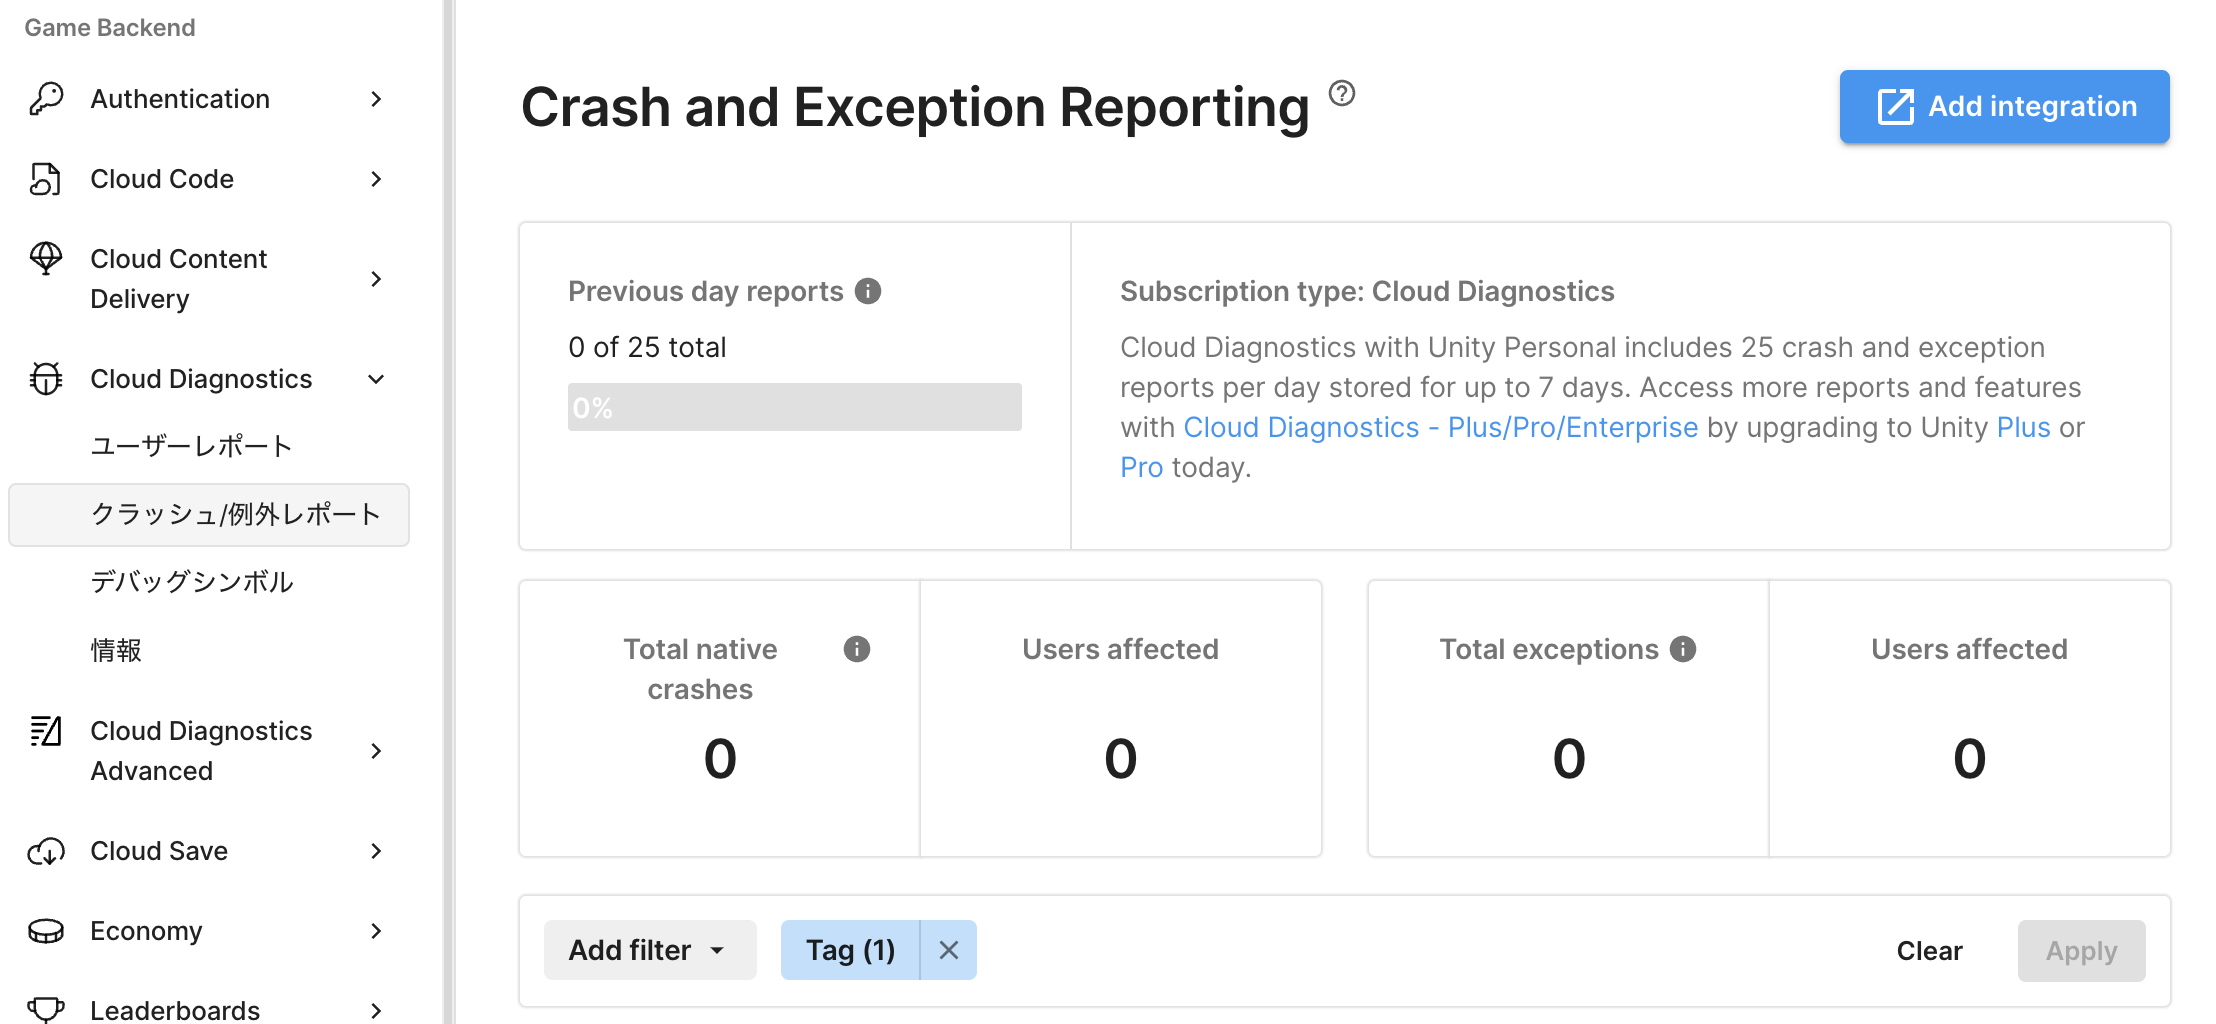
Go to Dashbordからレポートなどの状況を確認できます。

コメント